Step 1: Document the Foundation Before Work Starts
The single most useful thing you can do is create a baseline before any work begins. Most homeowners skip this step entirely and then have no objective way to tell whether new cracks appeared, or whether the cracks they're seeing were always there. The baseline takes maybe ninety minutes and costs almost nothing.
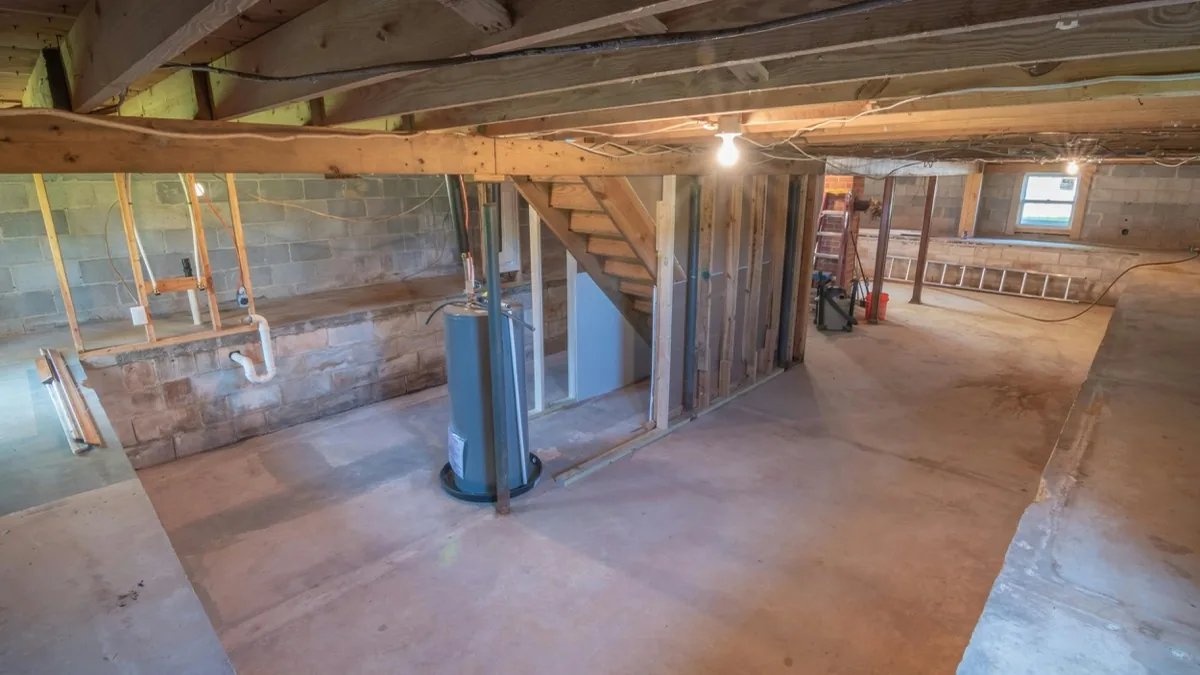
Walk the entire foundation perimeter inside and outside. Photograph every wall section in good light. Note any existing cracks on a sketch or printed floor plan, marking their length, width at the widest point, and location. Use a crack gauge to record actual measurements rather than rough descriptions. The American Concrete Institute publishes guidance on crack measurement and documentation that's straightforward enough for any homeowner to follow.
What to Photograph
Photograph each wall in overlapping sections so you don't miss anything. Get close-ups of every existing crack with a small ruler or coin in the frame for scale. Photograph corners, where vertical and horizontal sections meet, and any areas of efflorescence or staining. Take wide shots of the basement floor showing any existing cracks there too.
Save these photos in a single folder labeled with the date. Email them to yourself for cloud backup. You want to be able to find them in a year without hunting through your camera roll.
What to Write Down
For each existing crack, note the location (which wall, how high from the floor, how far from the nearest corner), the orientation (vertical, horizontal, diagonal, stair-step), and the width at the widest point. Also note any active signs like staining, fresh edges, or paint cracking, even if you don't think the crack is currently moving.
This sketch becomes your reference document. When you find a new crack later, you can check the sketch and confirm it wasn't there before. That distinction matters enormously.
Step 2: Install Crack Monitors on Existing Cracks
If you have any existing cracks of meaningful size, install plastic crack gauges across them before construction starts. These cost about $10 each and stick to the wall on either side of the crack with adhesive. They show movement on a calibrated grid. If a crack widens by even 1/32 of an inch during construction, the gauge will show it clearly.
I'd put gauges on every existing crack wider than a hairline. For my own basement, I have four gauges installed permanently. They've each been there for years, and I check them every month. The continuous record is far more useful than spot measurements taken months apart.
Step 3: Walk the Perimeter Weekly During and After Construction
During the renovation itself and for the first three months after work ends, walk the foundation perimeter once a week. Look for anything new. New cracks, even hairline ones. Movement in existing cracks. Fresh concrete dust on the floor below cracks (a sign of active widening). New efflorescence, which suggests changed moisture patterns. New water staining or seepage.
The weekly cadence is important during this window because soil settlement from compaction or excavation tends to happen quickly at first and then slow down. If something is going to crack, it usually cracks within the first few months. Catching it early lets you investigate the cause before more damage develops.
What to Look For Specifically
Focus on the areas closest to the renovation work. If the project involved excavation along one wall, that wall is at higher risk than the others. If new concrete was poured against the foundation (driveway, patio, walkway, addition), the soil beneath has been loaded with new weight that may compress over time.
Pay attention to corners. Stress in a foundation tends to concentrate at corners and openings. Cracks that radiate from window or door openings, or that originate at the corner where two walls meet, often indicate loading changes elsewhere in the structure.
Step 4: Move to Monthly Monitoring After Three Months
Once you're three months out from the end of construction without any new cracks or movement, you can shift to a monthly schedule. Continue monthly checks for at least a year. Many foundation issues from renovation work surface in the first cycle of seasonal changes. Soil moisture varies, freeze-thaw cycles run through, and any latent stress from the work tends to find its way out.
Photograph the same reference points each month. Compare the new photos to your baseline set. Most months, you'll see nothing new. That's the result you want, and it's worth confirming actively rather than assuming.
Step 5: Document Anything New Immediately
If you find a new crack, don't panic and don't dismiss it. Document it carefully. Photograph it with a ruler in the frame. Measure the width with a crack gauge. Note the date, the location, the orientation, and any visible characteristics. Install a crack monitor across it within a few days so you have continuous data going forward.
A single hairline crack that appears and then doesn't grow over the next several months is usually nothing to worry about. A crack that appears and continues to widen, or one that exceeds 1/16 of an inch in width when you find it, deserves a structural engineer's evaluation. The International Code Council identifies certain crack characteristics — width, orientation, location, displacement — as indicators that warrant professional review.
When to Call a Structural Engineer
Get an engineer out if any new crack exceeds 1/16 inch in width, if any existing crack widens by 1/32 inch or more during the monitoring period, if you find horizontal cracking on a basement wall, if you see displacement (one side of a crack offset from the other), or if you have water entering through any crack.
An engineer's evaluation typically costs $300 to $600 and takes about an hour onsite. The written report you get is worth the cost on its own, regardless of what they conclude, because it documents the foundation's condition at a known point in time.
Step 6: Watch the Drainage Around the Renovation
Most renovation-caused foundation problems trace back to drainage changes. New construction reroutes how water flows across your property, sometimes in ways the contractor didn't think through carefully. After the first significant rain following construction, walk the property during the rain or right after. Look at where water is pooling, which direction it's flowing, and whether any of it is now ending up against the foundation.
Common drainage issues after renovation include downspouts that were moved or shortened, grading that was disturbed and not properly restored, new hardscape (driveways, patios) that channels water toward the house instead of away, and landscaping changes that altered absorption patterns. Catching these in the first month or two prevents months of moisture-driven foundation stress.
Step 7: Reassess at the One-Year Mark
A year after construction ends, do a comprehensive review. Walk the entire foundation again with your baseline photos and notes in hand. Compare current condition to baseline. Confirm that all crack monitors show no movement. Check that drainage is functioning as expected. If everything looks the same as it did before construction, you're probably past the high-risk window.
I still recommend continuing seasonal checks (four times a year) indefinitely after that. But you can stop the intensive monitoring routine at the one-year mark with reasonable confidence that the foundation has accommodated whatever changes the renovation introduced. If something new shows up after that point, it's most likely unrelated to the renovation and should be evaluated on its own terms.