My DIY Success: The Crack Injection
The $47 project that actually worked. As This Old House explains, professional standards for this have evolved considerably over the past decade.
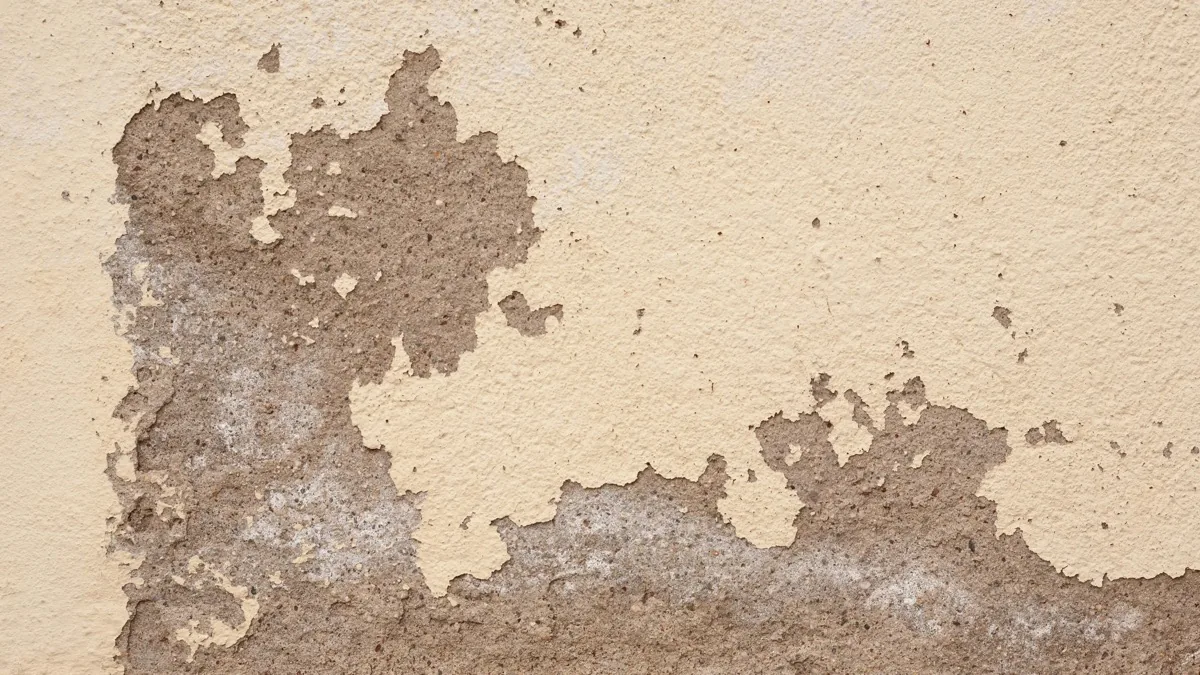
The Project
A vertical shrinkage crack in my basement wall, about three feet long. Hairline width. Completely dormant according to my monitoring. Showed slight dampness after heavy rain but nothing dramatic. Didn't really need sealing but I wanted to try the process.
Bought a DIY epoxy injection kit online. Came with ports, surface paste, injection cartridges, and instructions.
Why It Worked
The process was straightforward. Clean the crack. Glue on the ports. Seal the surface. Wait for cure. Inject epoxy starting at the bottom. Wait for cure. Remove the ports. Done.
Each step had clear success criteria. Is the surface clean and dry? Did the paste adhere? Did the epoxy come out the next port? If yes, move on. If no, troubleshoot. I couldn't accidentally skip a critical step because each step verified the last one.
What Made It DIY-Appropriate
The crack was simple and accessible. I wasn't under time pressure. The consequences of failure were low, at worst I'd have to hire someone to redo it. And the knowledge gap was small. Watch some videos, read the instructions, and the process is learnable in an afternoon.
Three years later, still sealed. I got lucky with a good crack for a first attempt, but the process really is approachable.
My DIY Failure: The Drainage Attempt
The $400 project that cost me $2,200 total. According to Family Handyman, homeowners should document conditions before consulting contractors.
The Project
Water was pooling against my foundation during rain. I decided to install a French drain along part of my foundation to redirect it. Bought perforated pipe, gravel, landscape fabric. Dug a trench. Laid the pipe. Covered it up. Felt proud of myself.
What Went Wrong
First heavy rain, water still pooled. The drain wasn't catching it. I'd misjudged the slope. Water was sitting in my pipe instead of flowing away. Then the fabric I used was wrong, silt clogged the perforations within months. Then I realized my discharge point wasn't far enough from the foundation. The water I was collecting was just soaking back toward the house.
Three mistakes that weren't obvious until they failed. Each one seemed right when I did it.
The Professional Fix
The contractor who fixed it explained what I'd missed. Proper slope calculation. The right fabric type for my soil. Correct discharge location. He also extended the drain further than I had and connected it to my downspout system.
His version cost $1,800 and has worked perfectly for four years. My version cost $400 and worked for about two rainstorms.
What Made It Not DIY-Appropriate
The knowledge gap was bigger than I realized. Drainage seems simple but it's about soil types, water flow, slope tolerances, and system integration. I didn't know what I didn't know. The consequences of failure weren't obvious either. Bad drainage doesn't fail dramatically, it just doesn't work, and you might not notice until damage accumulates.
Good DIY Projects
Foundation work where DIY makes sense.
Crack Monitoring
Absolutely DIY. Pencil marks, crack gauges, photos. No special skills needed. No consequences if you mess up. The only risk is false confidence from bad monitoring, which is why you should read up on technique first.
This is where everyone should start. Know your foundation before doing anything to it.
Simple Crack Injection
Good DIY for straightforward cracks in poured concrete. Dormant cracks with no structural concerns. The kits work if you follow directions. My $47 success proves it.
Not DIY: structural cracks, actively moving cracks, cracks in block walls, or anything where failure has real consequences.
Cosmetic Crack Filling
Filling non-structural cracks with hydraulic cement or crack filler from the hardware store. Easy, cheap, low stakes. You're just making the crack less visible, not fixing anything structural.
Basic Drainage Maintenance
Cleaning gutters. Extending downspouts with basic plastic extensions. Minor regrading with a shovel and some topsoil. These are homeowner maintenance, not construction projects. Hard to mess up badly.
The key word is maintenance. Installing new drainage systems is different.
Sump Pump Replacement
If you have an existing sump pit and need to swap the pump, that's DIY. It's basically plumbing. Disconnect old pump, connect new pump, test. Maybe an afternoon.
Installing a new sump system from scratch is different. That's concrete cutting, excavation, and plumbing together.
Hire a Professional
When DIY is asking for trouble.
Structural Repairs
Wall anchors, carbon fiber straps, steel beams, underpinning. These are structural interventions that have to work correctly. The equipment is specialized. The techniques have nuances. If you mess up, you've made things worse or created a false sense of security.
Keith's wall anchors cost $8,400 professionally installed. DIY isn't even an option for that work.
Major Waterproofing
Interior drain tile systems, exterior waterproofing with excavation, anything involving cutting through your basement slab. These are construction projects, not weekend projects. The knowledge gap is significant and the failure modes are expensive.
Anything Active
If a crack is still moving, if water is actively flowing, if settlement is ongoing, you need someone who can diagnose and address the cause. DIY treats symptoms. Professionals can identify and fix root causes.
Anything Structural
If an engineer has said something is structural, hire professionals. If you're not sure whether something is structural, pay an engineer to tell you before doing anything yourself.
When You're Not Sure
If you're reading this trying to decide, and you're not confident the project is DIY-appropriate, it probably isn't. My failed drainage attempt felt like a reasonable DIY project. My gut was wrong. Trust uncertainty as a signal.
The Decision Framework
Questions to ask yourself.
What Happens If I Fail?
My crack injection failure mode: the crack doesn't seal, I'm out $47, I hire someone. No big deal. My drainage failure mode: water damage I don't notice for months, plus the cost to fix my fix. Much bigger deal.
Low-stakes failures are fine to risk. High-stakes failures need professionals.
Can I Verify Success?
After crack injection, I could see that the epoxy filled the crack. Clear success indicator. After drainage installation, I couldn't verify it worked until the next rain. Then the next few rains. Then a heavy rain. Success wasn't immediately visible.
Projects where you can't verify success are riskier to DIY.
How Big Is the Knowledge Gap?
I could learn crack injection in an afternoon from YouTube and the kit instructions. Drainage involves soil science, hydrology, and system integration that I didn't even know existed. The knowledge gap was invisible until I failed.
If you're not sure how much you don't know, that's a warning sign.
What's the Real Cost Comparison?
My crack injection: $47 DIY versus maybe $400 professional. Saved $350. My drainage: $400 DIY plus $1,800 professional fix versus $1,800 professional from the start. Lost $400 plus two weekends.
Factor in the risk of failure when comparing costs.
DIY as Learning
Even failed DIY taught me something.
Understanding the Work
My drainage failure taught me more about drainage than any amount of reading would have. When the contractor explained what I did wrong, I understood because I'd done it wrong. That knowledge helps me evaluate future work and contractors.
Knowing What Pros Do
Watching Keith's wall anchor installation was educational. Watching Carol's carbon fiber installation was educational. I couldn't do that work, but understanding what's involved helps me help others evaluate their options.
Starting with Monitoring
My DIY monitoring is the foundation of everything I know about my foundation. Five years of data, all collected myself. This makes me an informed consumer when talking to contractors. They can't snow me with fake urgency because I know my cracks are dormant.
Appropriate Confidence
I'm confident doing crack injection now. I'm not confident doing drainage. That calibrated confidence came from trying both. The $400 lesson was worth it for the future decisions it informed.
Cost Reality Check
What you actually save with DIY.
Crack Injection
DIY kit: $40-150. Professional: $300-800 per crack. Potential savings: $200-650. Risk level: low for simple cracks.
This is probably the best ROI for foundation DIY. Real savings, learnable skills, low stakes.
Sump Pump Swap
DIY pump: $150-400. Professional installation: $400-800. Potential savings: $200-400. Risk level: low if you're replacing an existing system.
Reasonable DIY if you're comfortable with basic plumbing.
Drainage Improvements
DIY materials: varies widely. Professional installation: $1,500-5,000+ depending on scope. Potential savings: significant. Risk level: medium to high.
My disaster zone. Some drainage is DIY, some isn't. Know the difference.
Structural Repairs
There is no DIY option for wall anchors, piers, or serious structural work. Don't try. The savings aren't real because you can't actually do the work properly.